Exercise Lesson 10: Adding Custom Animation
Instructions
Below are a few exercises to help you practice. Follow instructions carefully. A sample slide is shown to help you understand how your final outcome should look.
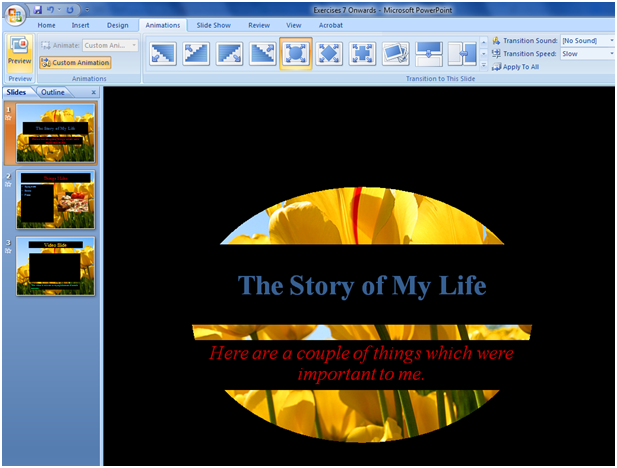
- Using the current presentation, add an entrance transition to Slide 1.
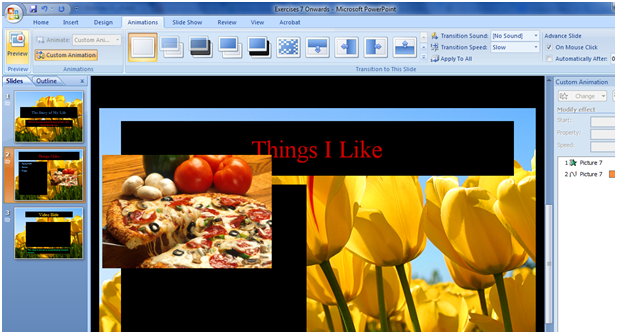
- After you’ve done this, add animation to the picture of the pizza in Slide 2.
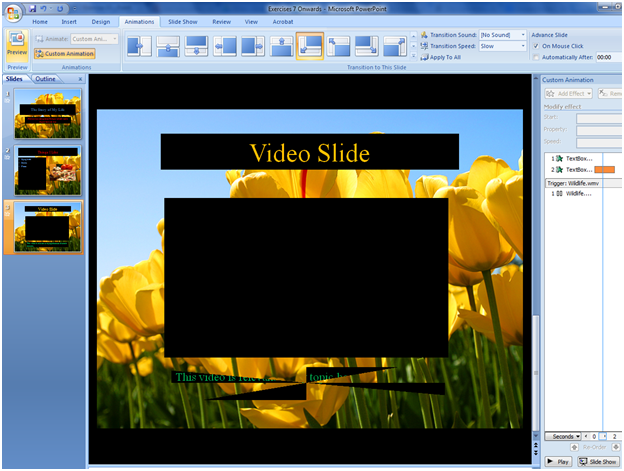
- Next, add a transition from Slide 2 to Slide 3.
- Add animation to the title textbox in Slide 3.
- Add animation to the body textbox in Slide 3 so that it enters the frame after the animation on the title textbox has been carried out.
- Set the timing for all of the transitions to “Slow”.
- Preview your Custom Animation.
- Save your changes using the Quick Access Toolbar.
Upon completion of the 7th step, your slides should look something like this (during the preview)—the way the animation looks of course, depends on which effect you choose. Eitherway, the slides below are to illustrate that during the preview, the effects and transitions you chose should be carried out so that you’re able to see how they will behave during the slideshow itself:
Slide 1

Slide 2

Slide 3

In this exercise, we were able to practice our use of custom animation. We were able to add timing, transition and movement to our PowerPoint presentation. We were also able to make use of the preview button and fix the timing of our slideshow.
 + 1-888-827-0150
 + 44-20-3006-2750


