Exercise Lesson 8: Designing Your Slide
Instructions
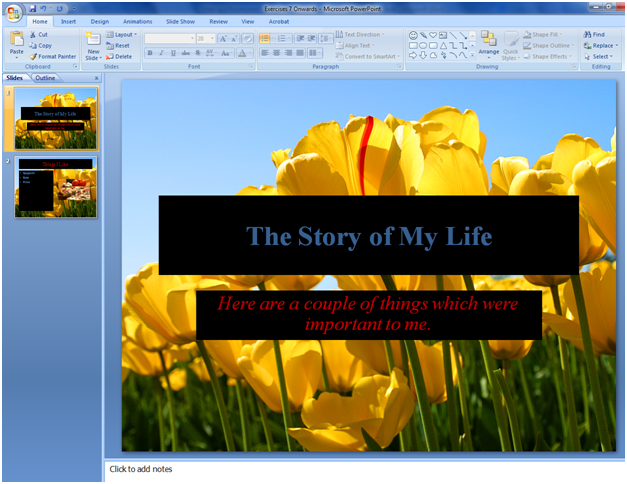
Below are a few exercises to help you practice. Follow instructions carefully. A sample slide is shown to help you understand how your final outcome should look.
- Using your current presentation, change the background of your first slide. Use any stock image that you have in your computer. Apply this to all slides.
- Change the background fill of your title and subtitle textboxes to black.
- On your second slide, delete both text boxes.
- Select the Title and Content layout.
- For your title, type “Things I Like”.
- Change the textbox fill to black.
- Change the font to Times New Roman, size 40.
- Make the font color red.
- For your content, type three bullet points: Spaghetti, Soda and Pizza.
- Change the font to Times New Roman, size 28.
- Make the font color blue.
- Change the textbox fill to black.
- Adjust the size of your textbox so that it only takes up half of your page, crosswise.
- In the space remaining, insert a picture of a pizza.
- Save your changes using the Quick Access Toolbar.
Upon completion of the 15th step, your presentation should look something like this:

In this exercise, we were able to practice the different slide design tools which we took up in our lesson. These include inserting and editing textboxes, changing the backgrounds of our slides and inserting images.
 + 1-888-827-0150
 + 44-20-3006-2750


